CI/CD system with AWS Codepipeline and Elastic Beanstalk for any docker project
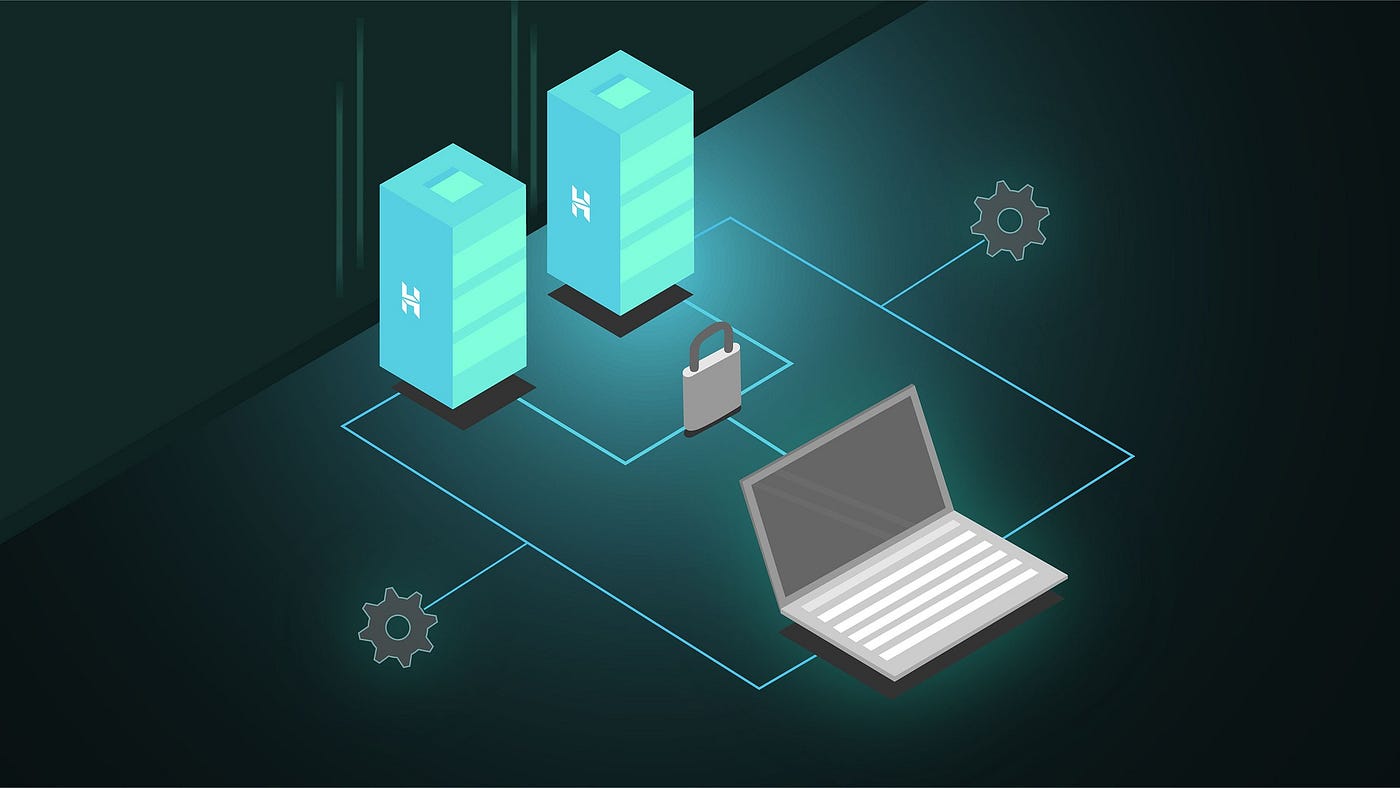
Elastic Beanstalk is a very popular tool to deploy web applications, its simplicity and capability are what make it special.
In this tutorial, we will see how we can deploy a containerized project in Elastic Beanstalk.
Terminologies
AWS Elastic Beanstalk is an easy-to-use service for deploying and scaling web applications and services
AWS CodePipeline is a fully managed continuous delivery service that helps you automate your release
Docker makes development efficient and predictable
Let's Get Started
STEP 1: Creating a new Repository to store the docker image

- Navigate to Elastic Container Registry in AWS Console
- Create a new repository (with default options)
- Copy the registry URI of the generated repository for step 3
STEP 2: Create a code build project

- Go to AWS Console
- Navigate to Code Build
- Note down the Servie Role name that you use in this step (Will be used in step 6)
- Create a new build project (with default options)
NOTE: We will have an output artifact and make sure to enable saving the artifact to S3
- Specify your git account (I used GitHub repo)
- Specify that the build spec file is provided in the source repo
- Create your Code Build project
STEP 3: Build specifications
In your repository add the following in the new file called buildspec.yml (This file should be in the parent folder)
version: 0.2
phases:
  pre_build:
    commands:
      - echo Logging in to Amazon ECR...
      - echo $CODEBUILD_SOURCE_VERSION
      - $(aws ecr get-login --region $AWS_DEFAULT_REGION --no-include-email)
      - REPOSITORY_URI=<<YOUR-REPO-URI>>
      - COMMIT_HASH=$(echo $CODEBUILD_RESOLVED_SOURCE_VERSION | cut -c 1-7)
      - IMAGE_TAG=build-$(echo $CODEBUILD_BUILD_ID | awk -F":" '{print $2}')
  build:
    commands:
      - echo Build started on `date`
      - echo Building the Docker image...
      - docker build -t $REPOSITORY_URI:latest .
      - docker tag $REPOSITORY_URI:latest $REPOSITORY_URI:$IMAGE_TAG
  post_build:
    commands:
      - echo Build completed on `date`
      - echo Pushing the Docker images...
      - docker push $REPOSITORY_URI:latest
      - docker push $REPOSITORY_URI:$IMAGE_TAG
      - echo Writing image definitions file...
      - printf '{"AWSEBDockerrunVersion":"1","Image":{"Name":"%s","Update":"true"},"Ports":[{"ContainerPort":80,"HostPort":80}]}' $REPOSITORY_URI:$IMAGE_TAG > Dockerrun.aws.json
      - cat Dockerrun.aws.json
artifacts:
  files: Dockerrun.aws.json
What the above specification does is, for every code build execution, it builds the docker container with Dockerfile on the parent folder and pushes the built image to Elastic Container Registry with the tag latest . Finally, the script will automatically write the output to the file called Dockerrun.aws.json this will be used by Elastic Beanstalk to run the software.
STEP 4: Create an Elastic Beanstalk Environment

- Navigate to Elastic Beanstalk (in AWS Console)
- Create a new application and an environment
NOTE: You can create multiple environments in the same application and have a different pipeline project do deploy in each environment - Choose Docker as a platform and choose everything else to default
STEP 5: Building a pipeline
- Navigate to AWS Codepipeline (in AWS Console)
- Create a new pipeline
- In the build stage, select the building project that you created in Step 2
- In the deploy stage, select Elastic Beanstalk and choose the application and environment you created in STEP 3
STEP 6: Setting up the permissions
- Navigate to the IAM and select Roles (on the left pane)
- Choose the role that you created in step 2
- Select attach policy and `AmazonEC2ContainerRegistryFullAccess`
Testing time:
- Go to AWS Codepipeline and click release changes
- You would see that all the three step gets executed

Boom 🎉, your docker container is now deployed and can be accessed by the rest of the world!